
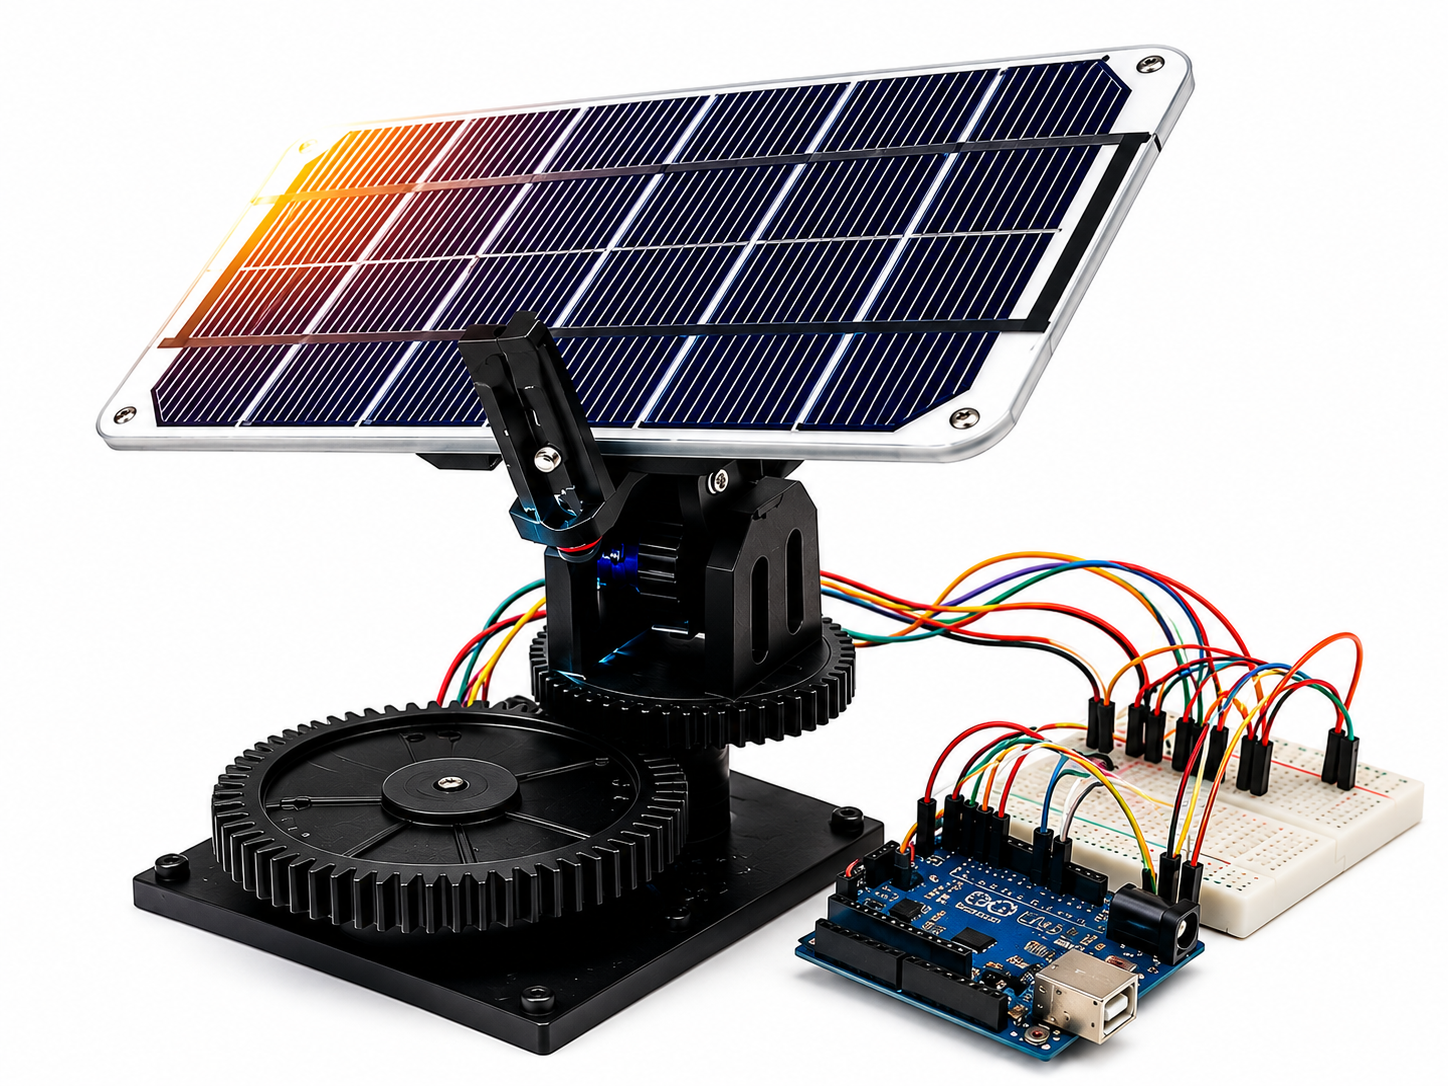
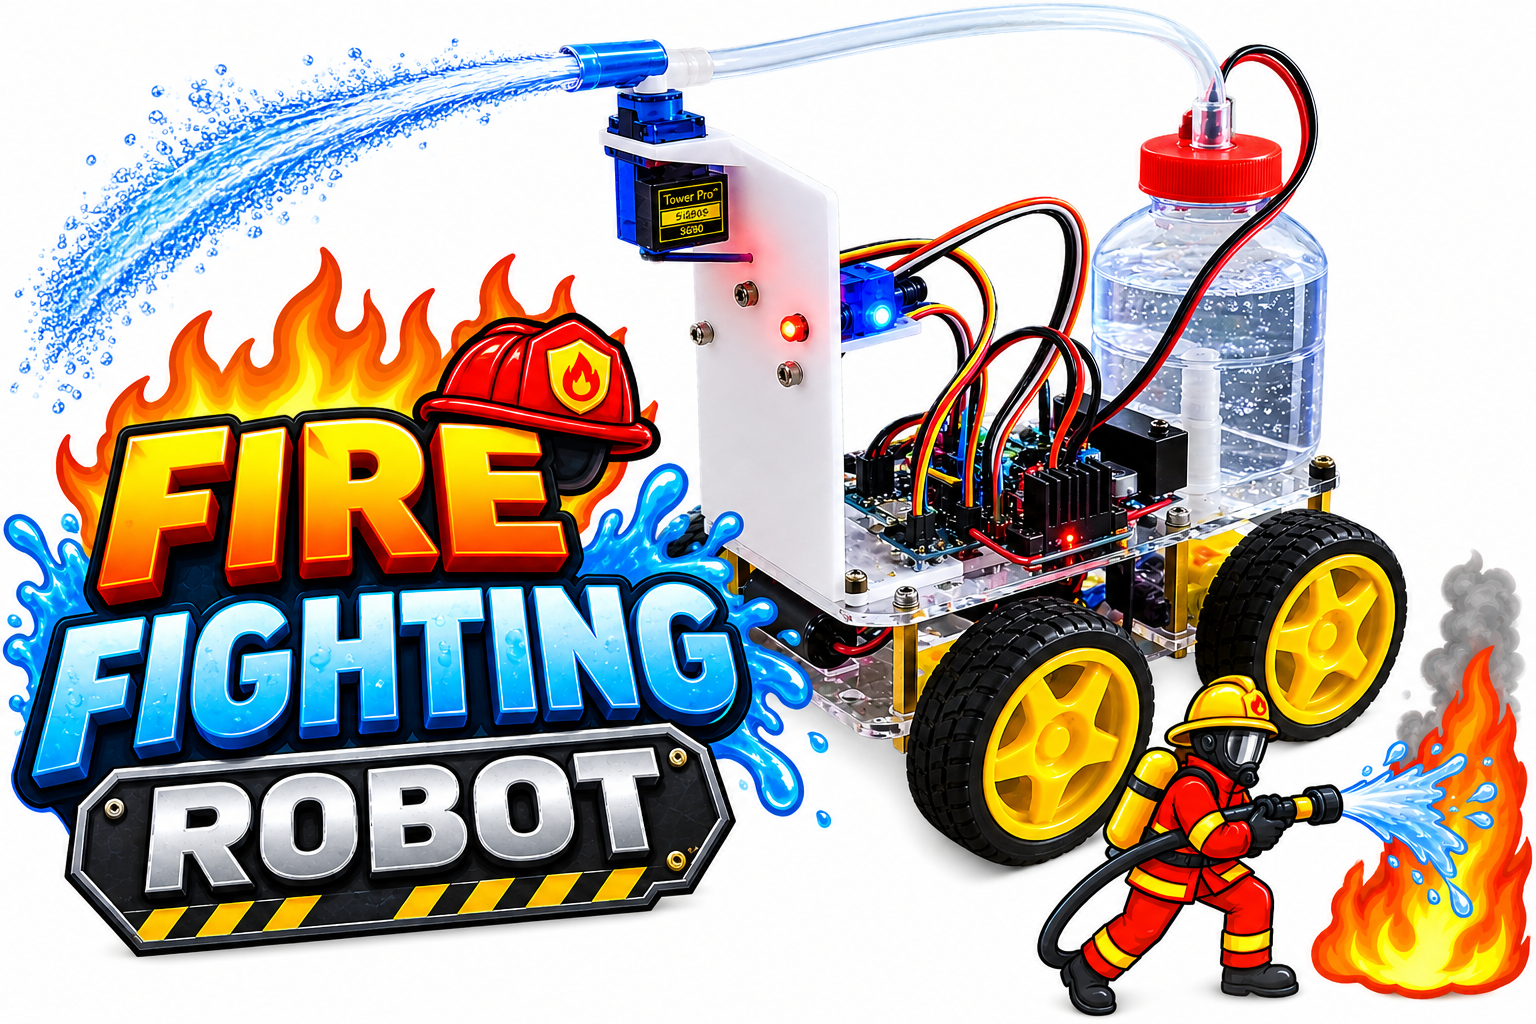
Arduino Firefighting & Obstacle Detection Robot

₨5,200.00

Delivered All over Pakistan 🇵🇰

The Arduino Firefighter Robot with Obstacle Detection is an unassembled robotics project featuring flame sensors, obstacle detection, an Arduino controller, and a high-pressure water pump. It is ideal for FYP projects, robotics learning, and automation experiments.

Description
Introduction to Arduino Firefighter Robot

The Arduino Firefighter Robot with Obstacle Detection is a practical autonomous robotics project designed to detect fire and assist with firefighting tasks while keeping people away from hazardous areas. Moreover, the robot combines Arduino control, flame sensors, obstacle detection, motorized movement, and a water pump in one integrated platform. In addition, its fully covered 3D-printed body provides a professional appearance and protects the internal components.

How the Arduino Firefighter Robot Works

The robot uses multiple flame sensors around its body to continuously monitor the surrounding area. First, the sensors detect a nearby flame and send signals to the Arduino controller. Next, the Arduino analyzes the sensor readings and directs the motors toward the detected fire. Meanwhile, the obstacle detection system monitors the robot’s path and helps it avoid objects.Once the robot reaches the fire, the high-pressure water pump draws water from the onboard tank and directs it toward the flame. Furthermore, a servo motor moves the water outlet from side to side, providing wider spray coverage. Therefore, the robot can combine fire detection, navigation, obstacle avoidance, and water spraying within one automated system.

Components Included:

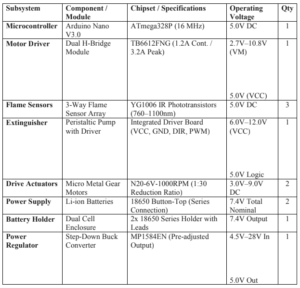
  • Arduino Uno R3
  • 3× Flame Sensor Modules
  • HC-SR04 Ultrasonic Sensor
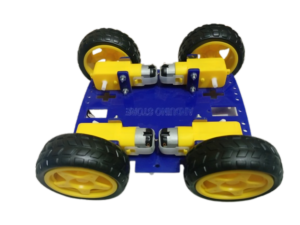
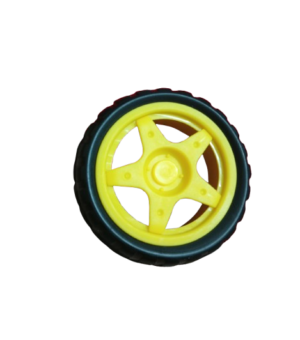
  • 2WD/4WD Robot Chassis with DC Motors
  • L298N Motor Driver Module
  • 12V Water Pump
  • Relay Module
  • SG90 Servo Motor (Nozzle Aim)
  • Battery Pack
  • Jumper Wires


Key Features & Specifications

  • Controller: Arduino-based control system
  • Body Design: Fully covered 3D-printed robotic body
  • Fire Detection: Front 5-channel flame sensor system
  • Detection Range: Approximately 1.5 meters, depending on conditions
  • Fire Coverage: Flame sensors positioned around multiple sides
  • Obstacle Avoidance: Integrated obstacle detection system
  • Battery: Heavy-duty LiPo battery
  • Water Pump: High-pressure pump
  • Water Tank: 1-liter capacity
  • Spray Control: Servo motor for side-to-side movement
  • Structure: Professional enclosed design
  • Project Type: Arduino robotics and FYP project


Applications & Use Cases

The Arduino Firefighter Robot with Obstacle Detection is suitable for final-year projects, robotics education, Arduino experiments, automation demonstrations, and research activities. For example, students can demonstrate how a robotic system detects a flame, navigates around obstacles, and activates a water pump automatically.Furthermore, the project provides hands-on experience with flame sensors, obstacle detection, DC motors, servo motors, water pumps, LiPo batteries, and Arduino programming. In addition, users can modify the 3D-printed body to accommodate extra sensors, cameras, or compatible electronic modules. As a result, the robot offers a practical platform for exploring autonomous navigation, fire detection, robotic control, and intelligent automation. Overall, it demonstrates how multiple technologies can work together to create a responsive robotics system.

Autonomous Firefighting Robot
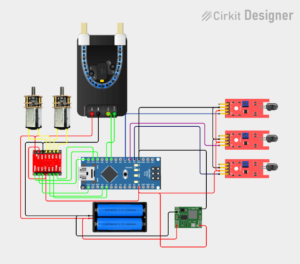
1. Flame Sensor Sensitivity Tuning
 Place the robot in normal ambient room lighting. If the indicator LEDs on the 3-way
flame sensor board illuminate before a flame is lit, the sensors are oversaturated.
 Turn each blue potentiometer counter-clockwise until the indicator LEDs shut off.
 Light a candle approximately 30 cm away; adjust the potentiometers clockwise until the
indicator LEDs turn ON only when pointing directly at the flame.
2. Integrated Peristaltic Pump Setup
 Direction Setup: If the pump draws water backward from the nozzle into the reservoir
during testing, switch PUMP_DIR from HIGH to LOW in the code (or swap the DC leads on
the driver board).
 Power Note: Ensure the pump’s VCC is wired directly to the +7.4V battery line (before
the MP1584EN regulator) to prevent current draw spikes from resetting the Arduino
Nano during actuation.

Visit our website Ampflick  for more products.

You can also visit our Instagram and Facebook for latest update.

Reviews

There are no reviews yet.

Only logged in customers who have purchased this product may leave a review.